Hansgrohe Kitchen Faucet Repair Manual: A Comprehensive Guide
Hansgrohe kitchen faucets blend precision, durability, and design, yet repairs are sometimes needed. This comprehensive manual details troubleshooting, parts, and maintenance for lasting performance.
Understanding Hansgrohe Faucet Components
Hansgrohe faucets boast intricate designs, making component familiarity crucial for effective repair. The core often includes a ceramic disc cartridge – regulating water flow and temperature with precision; These cartridges are prone to wear, leading to drips or inconsistent water delivery.
O-rings, small but vital, create watertight seals around various parts, like the spout and handles. Deteriorated O-rings cause leaks. Aerators, screwing onto the faucet’s outlet, mix air into the water stream, reducing splashing and conserving water; they can become clogged with mineral deposits.
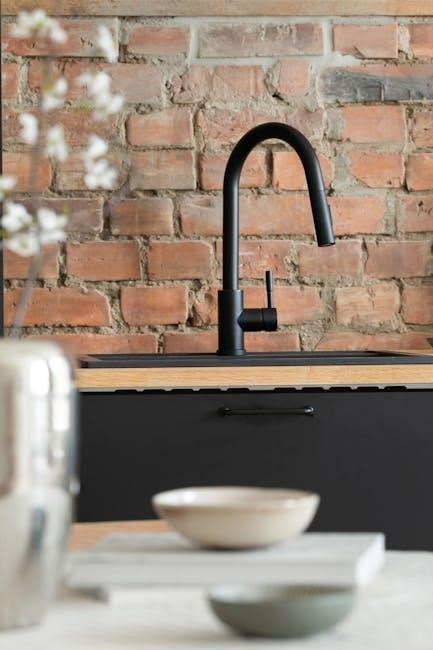
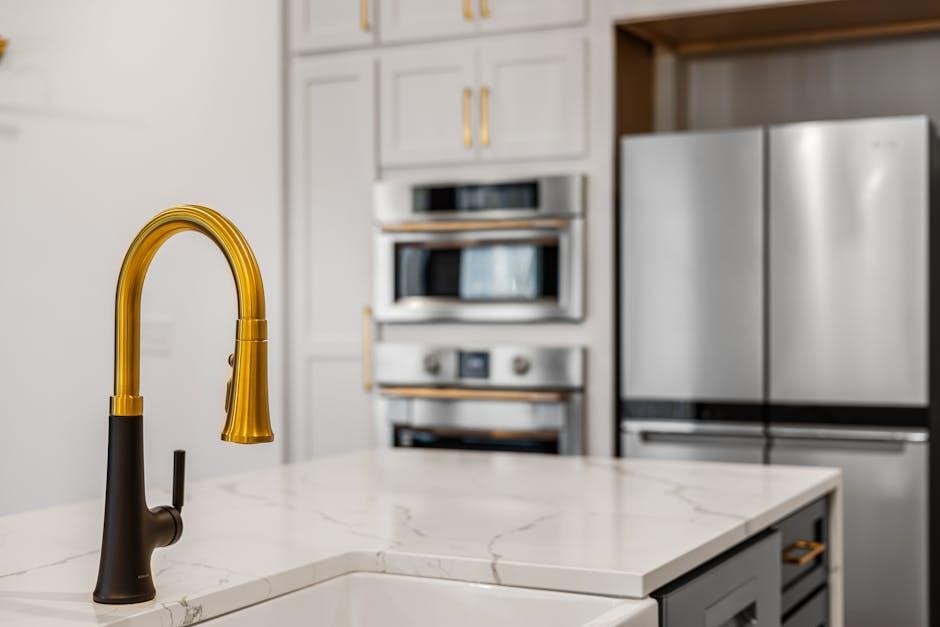
Pull-down faucets add a hose, spray head, and retraction mechanism. The hose can kink or leak, while the spray head might clog or lose pressure. Valve seats and springs, found in two-handle models, control water flow; wear here causes imbalances. Understanding these components simplifies diagnosis and repair.
Identifying Common Hansgrohe Faucet Problems
Hansgrohe faucets, despite their quality, exhibit common issues. Leaks are frequent – from the spout, handle base, or pull-down hose. Drips often signal worn-out cartridges or O-rings. Reduced water pressure indicates aerator clogging or cartridge issues. Stiff or difficult handle movement suggests cartridge problems or mineral buildup.
Pull-down faucets present unique challenges: spray head malfunctions (weak spray, uneven pattern), hose kinks or leaks, and retraction failures. Imbalances in hot and cold water typically point to valve seat or spring wear in two-handle models.
Consistent dripping even when the faucet is off demands immediate attention, potentially indicating a damaged valve seat. Identifying the specific symptom accurately guides the repair process, saving time and ensuring effective solutions.
Tools Required for Hansgrohe Faucet Repair
Successfully repairing your Hansgrohe kitchen faucet requires a specific toolkit. Essential items include a basin wrench for accessing tight spaces under the sink. Adjustable wrenches are crucial for loosening and tightening nuts and connections. A Phillips and flathead screwdriver set covers various screw types.
Pliers – both standard and needle-nose – aid in gripping and manipulating small parts. An Allen wrench set is necessary for certain cartridge and handle screws. A utility knife helps remove old sealant or O-rings. Don’t forget penetrating oil to loosen stubborn connections.
Additionally, a cartridge puller (specific to Hansgrohe) simplifies cartridge removal. A soft cloth protects the faucet finish from scratches during repairs. Safety glasses are vital for eye protection.
Repairing a Leaky Hansgrohe Kitchen Faucet
A leaky Hansgrohe kitchen faucet is a common issue, often stemming from worn cartridges, O-rings, or the aerator. Begin by shutting off the water supply under the sink. Disassemble the faucet, carefully noting the order of parts for reassembly. Inspect the cartridge for cracks or damage; replacement is often necessary.
Examine O-rings for wear and tear, replacing them if they appear flattened or brittle; Clean the aerator thoroughly, removing any mineral deposits that might cause leaks. Reassemble the faucet, ensuring all connections are snug but not overtightened.
Turn the water supply back on slowly and check for leaks. If the leak persists, revisit the cartridge and O-rings, or consider valve seat issues.
Replacing Cartridges in Hansgrohe Faucets
To replace a Hansgrohe faucet cartridge, begin by shutting off the water supply and relieving pressure. Remove the handle, often secured with a set screw hidden under a cap. Unscrew the retaining nut holding the cartridge in place, and gently pull the old cartridge straight up and out.
Before installing the new cartridge, lubricate the O-rings with silicone grease. Align the new cartridge correctly – most have a specific orientation – and insert it firmly into the faucet body. Secure it with the retaining nut, tightening it snugly but avoiding over-tightening.
Reattach the handle and test the faucet for proper operation and leaks. A correctly installed cartridge should eliminate drips and restore smooth handle movement.
Fixing O-Ring Issues in Hansgrohe Faucets
O-rings are crucial for sealing connections within Hansgrohe faucets, and deterioration often causes leaks. Begin by shutting off the water supply and disassembling the faucet to access the faulty O-ring. Carefully remove the old, hardened, or cracked O-ring using a small pick or screwdriver – avoid scratching the surrounding surfaces.
Clean the groove where the O-ring sits thoroughly, removing any debris or old lubricant. Apply silicone-based plumbing grease to the new O-ring before installation; this ensures a proper seal and eases future removal. Gently stretch the O-ring over the faucet component and seat it firmly in the groove.
Reassemble the faucet and test for leaks. Replacing worn O-rings is a simple fix that can prevent significant water waste.
Addressing Aerator Leaks in Hansgrohe Faucets
Aerator leaks in Hansgrohe faucets are frequently caused by mineral buildup or a damaged aerator housing. Begin by unscrewing the aerator from the faucet spout – a specialized aerator key can be helpful if it’s tightly secured. Once removed, disassemble the aerator components, including the screen, flow restrictor, and housing.
Inspect each part for cracks, damage, or mineral deposits. Soak the components in white vinegar for several hours to dissolve mineral buildup, then scrub gently with a soft brush. Rinse thoroughly with water. If the aerator housing is damaged, it must be replaced.
Reassemble the aerator and screw it back onto the faucet spout. Test for leaks; a properly functioning aerator should provide a smooth, consistent water flow.
Hansgrohe Pull-Down Faucet Repair
Hansgrohe pull-down faucets offer convenience, but can experience issues with the spray head, hose, or retraction mechanism. Common problems include reduced water pressure, a spray head that won’t rotate, or a hose that doesn’t retract smoothly. Before starting any repair, shut off the water supply to the faucet.
Troubleshooting often begins with the spray head. Check for clogged nozzles and mineral buildup. The hose can develop kinks or leaks over time, requiring replacement. Retraction issues frequently stem from a faulty weight or a damaged retraction spring within the faucet body.
Carefully inspect each component, and refer to the specific model’s diagram for proper disassembly and repair procedures. Replacing parts is often the most effective solution.
Troubleshooting Pull-Down Spray Head Issues
Hansgrohe pull-down spray heads can suffer from reduced water flow or lack of rotation. The most frequent cause is mineral buildup clogging the spray nozzles. Begin by gently unscrewing the spray head and soaking it in a descaling solution, like vinegar, for several hours. Use a small brush or pin to carefully clear any remaining debris from each nozzle.
If the spray head still doesn’t rotate smoothly, inspect the swivel joint for damage or obstruction. A worn-out O-ring within the joint can also cause stiffness. Lubricate the joint with silicone grease.
For persistent issues, check the hose connection to the spray head for leaks or blockages. Ensure a secure connection and replace any damaged parts.
Replacing the Pull-Down Hose in Hansgrohe Faucets
Replacing a Hansgrohe pull-down hose is a manageable DIY task. First, shut off the water supply and disconnect the faucet from the water lines. Carefully detach the old hose from both the faucet body and the spray head, noting the connection points.
When installing the new hose, ensure it’s the correct length and compatible with your faucet model. Connect the hose securely to the faucet body, using Teflon tape on the threads to prevent leaks. Then, attach the hose to the spray head, again ensuring a tight connection.
Turn the water supply back on slowly and check for any leaks at the connections. Retract and extend the spray head several times to verify smooth operation.
Fixing Retraction Problems with Hansgrohe Pull-Down Sprays
Retraction issues with Hansgrohe pull-down sprays often stem from a faulty retraction mechanism or debris buildup. Begin by checking the hose for kinks or obstructions that hinder smooth movement. Inspect the weight within the spray head; a damaged or misaligned weight can disrupt retraction.
Carefully remove the spray head and clean it thoroughly, flushing out any sediment or mineral deposits. Examine the retraction cord and ensure it’s properly connected and not frayed. If the cord is damaged, it needs replacement.
Reassemble the spray head and test the retraction. If problems persist, consider lubricating the hose with a silicone-based lubricant. A professional plumber may be needed for complex internal repairs.
Hansgrohe Single-Handle Faucet Repair
Hansgrohe single-handle faucets offer convenient operation, but can experience issues like stiff movement or leaks. Diagnosing the problem often points to the ceramic disc cartridge, a common wear item. Begin by shutting off the water supply before disassembly.
Remove the handle, typically secured with a set screw hidden under a cap. Once the handle is off, access the cartridge retaining nut. Carefully unscrew the nut and lift out the old cartridge. Inspect it for cracks or damage.
Before installing the new cartridge, clean the faucet body; Apply a thin coat of silicone grease to the new cartridge’s O-rings for smooth operation and a watertight seal. Reassemble, ensuring proper alignment, and test for leaks and smooth handle movement.
Diagnosing and Fixing Handle Movement Issues
Stiff or difficult handle movement in a Hansgrohe single-handle faucet often indicates a problem within the cartridge assembly. Mineral buildup is a frequent culprit, restricting smooth operation. Begin by carefully removing the handle to access the cartridge.
Inspect the cartridge for visible corrosion or debris. Sometimes, simply flushing the cartridge housing with white vinegar can dissolve mineral deposits and restore movement. If the cartridge appears damaged, replacement is necessary.
Before reassembly, lubricate the cartridge O-rings with silicone grease. This ensures a smooth glide and prevents future sticking. If the issue persists after cartridge replacement, check the faucet body for internal obstructions or damage that may be hindering movement.
Replacing the Ceramic Disc Cartridge
A failing ceramic disc cartridge is a common cause of leaks or inconsistent water flow in Hansgrohe single-handle faucets. Begin by shutting off the water supply and relieving pressure. Carefully remove the handle and any decorative caps to access the retaining nut securing the cartridge.
Use a cartridge puller tool, if necessary, to gently remove the old cartridge. Inspect the faucet body for any debris or corrosion before inserting the new cartridge. Ensure the new cartridge is correctly aligned – often indicated by alignment pins or markings.
Tighten the retaining nut securely, but avoid over-tightening. Reattach the handle and test the faucet for proper operation. A properly installed ceramic disc cartridge should provide smooth, drip-free water control.
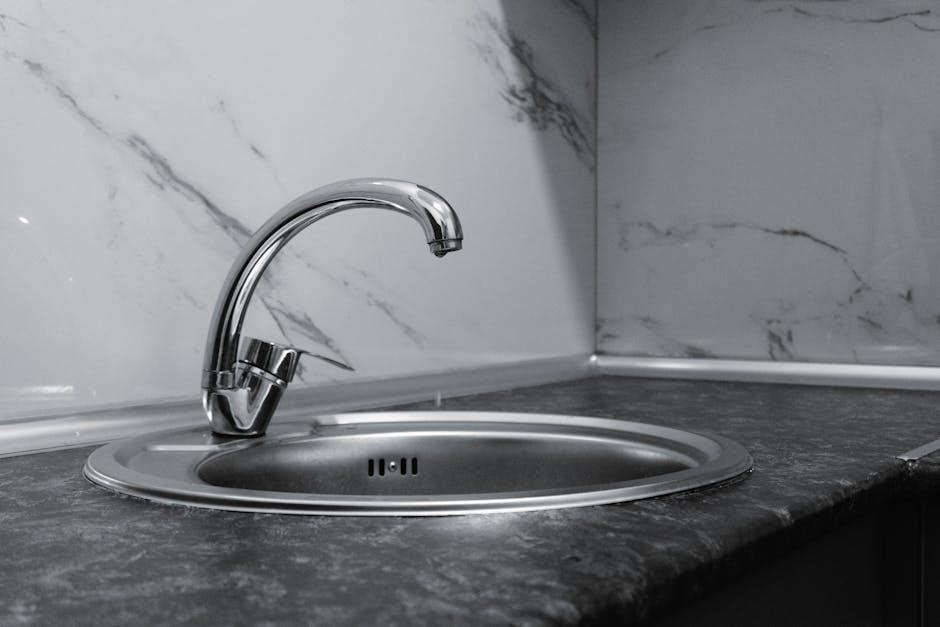
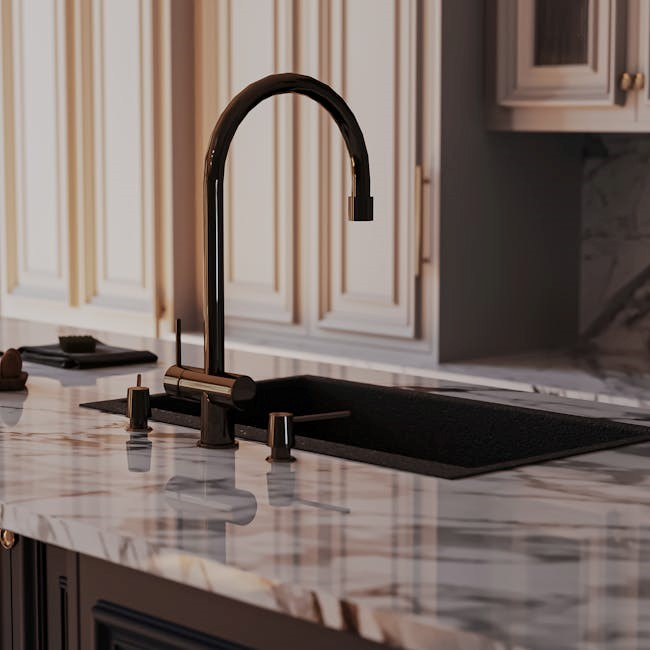
Hansgrohe Two-Handle Faucet Repair
Hansgrohe two-handle kitchen faucets, while robust, can experience issues like drips or difficulty adjusting water temperature. Common problems stem from worn valve seats, springs, or O-rings. Begin by shutting off the water supply before disassembling the faucet. Carefully remove the handles, revealing the valve stems.
Inspect the valve seats for corrosion or damage; these may require replacement using a valve seat wrench. Examine the springs and O-rings for wear and tear, replacing them as needed. Reassemble the faucet, ensuring all parts are properly aligned and tightened.
Testing for leaks and smooth handle operation is crucial after repair. Addressing these issues restores optimal functionality and prevents further damage.
Addressing Hot and Cold Water Imbalance
Hansgrohe two-handle faucets sometimes exhibit an imbalance between hot and cold water flow, often due to sediment buildup or worn internal components. Begin by carefully removing the handles to access the valve stems. Inspect the valve seats for mineral deposits or corrosion, cleaning them thoroughly with a suitable descaling solution.
Examine the springs and rubber washers associated with each valve stem; these frequently degrade over time and restrict water flow. Replacing these worn parts is often the solution. Ensure proper alignment during reassembly, and test the water flow after repair.
If the imbalance persists, consider a cartridge replacement as a potential fix.
Replacing Valve Seats and Springs
Hansgrohe two-handle faucet repair often necessitates replacing valve seats and springs, especially when addressing drips or inconsistent water flow. Begin by shutting off the water supply and disassembling the faucet handles to access the valve stems. Carefully remove the old valve seats using a specialized seat wrench – avoid damaging the faucet body.
Inspect the corresponding spring locations for corrosion or damage. Replace both the valve seats and springs as a set for optimal performance. Ensure the new seats are properly seated and the springs are correctly positioned before reassembling the valve stems.
Proper installation is crucial to prevent future leaks and maintain consistent water temperature control.
Hansgrohe Faucet Cleaning and Maintenance
Regular cleaning is vital for maintaining the pristine appearance and functionality of your Hansgrohe kitchen faucet. Daily wiping with a soft cloth removes water spots and grime. Avoid abrasive cleaners, as they can damage the finish; instead, opt for mild soap and warm water. For stubborn deposits, a vinegar solution can be effective, but rinse thoroughly afterward.
Periodically inspect the aerator for mineral buildup. Unscrew it and soak in vinegar to dissolve deposits, then rinse and reattach. Check O-rings and seals for wear and tear, replacing them as needed. Proper maintenance extends the faucet’s lifespan and prevents costly repairs.
Preventative Measures to Extend Faucet Lifespan
Proactive care significantly extends the life of your Hansgrohe kitchen faucet. Install a water filter to reduce mineral buildup, a common cause of wear and tear. Avoid forceful operation of the handle or spray head, as this can damage internal components. Regularly check connections for leaks and tighten as necessary.
When cleaning, always use non-abrasive materials and cleaners specifically designed for faucet finishes. Consider applying a protective wax coating periodically to enhance shine and prevent water spots. By implementing these simple preventative measures, you can ensure years of reliable performance from your Hansgrohe faucet.
Where to Find Hansgrohe Faucet Parts
Sourcing genuine Hansgrohe replacement parts is crucial for maintaining faucet performance and warranty validity. The official Hansgrohe website offers a comprehensive parts catalog and online ordering. Authorized Hansgrohe dealers and plumbing supply stores also stock a wide range of components.
Alternatively, reputable online retailers specializing in plumbing parts often carry Hansgrohe spares. When ordering, always verify the part number to ensure compatibility with your specific faucet model. Be cautious of counterfeit parts, as they may compromise quality and functionality. Prioritize authorized sources for reliable and durable replacements.
Hansgrohe Warranty Information and Support
Hansgrohe faucets typically come with a limited lifetime warranty covering manufacturing defects in materials and workmanship. This warranty doesn’t cover damage from improper installation, misuse, or normal wear and tear. Proof of purchase is essential for warranty claims.
For warranty claims or technical support, contact Hansgrohe’s customer service department directly through their official website or phone number. Their support team can assist with troubleshooting, parts identification, and claim processing. Hansgrohe also provides detailed installation guides and FAQs online. Retaining your purchase documentation and understanding the warranty terms will streamline any support requests.